Thursday, March 31, 2011

Thai Night!


This is a night of firsts! First time cooking Thai food. First time using my Martha Stewart red dutch oven. I swear if she wanted to marry me and we lived in a state that allowed it...I would in a heart beat. Anyways....also the first time the hubby cooked dinner with me...fun!

Despite what you're thinking from my last two posts, I do cook a lot of healthy dishes. I am currently doing Weight Watchers so on recipes like this one, I will include the PointsPlus values. The recipe is a random mix of recipes I found online and just plain good sense. And I bulked it up with A LOT of veggies! It may not be authentic Thai, but the hubby and I enjoyed it.


Green Pineapple Curry Recipe:

2 Tbsp Thai Kitchen Green Curry Paste

2 cans coconut milk (lite)

3 boneless/skinless chicken breast, cut into bit size pieces

3 Tbsp Soy Sauce (you could use fish sauce, if you're into that sort of thing)

2 Tbsp Brown Sugar

1 can bamboo shoots

3 carrots, peeled and chopped into cute diagonal pieces

1 red bell pepper, chopped into bite size pieces

1 green bell pepper, chopped into bite size pieces

1/2 onion, chopped into bite size pieces

1 c. pineapple chunks (we chopped in half...you can leave big if you want)

Serve with Jasmine Rice (follow directions on package)


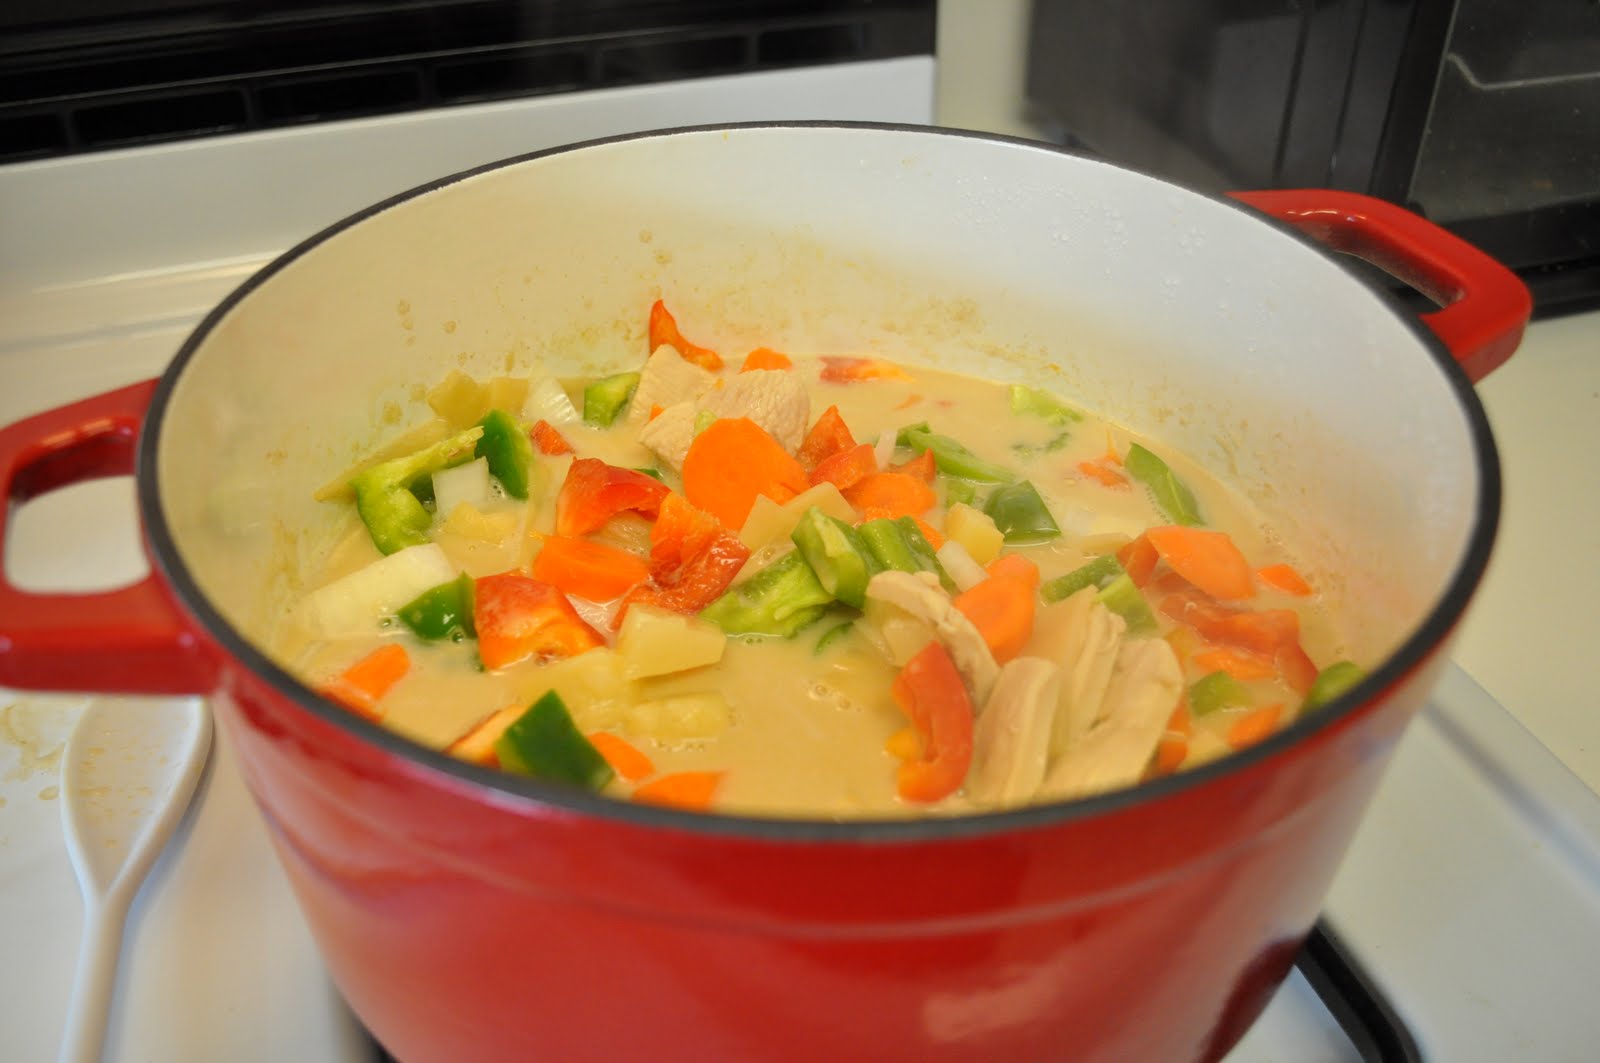
I used my dutch oven over medium heat. Pour in coconut milk along with curry paste until it's well incorporated. As that comes to a simmer, toss in the chicken, soy sauce, brown sugar and bamboo shoots. Cover and cook for about 20 min. While that's cooking, you can start making your rice so it's ready when the curry is done. After that, dump in all the fruits and veggies, cover again and cook until the veggies are at your preferred consistency (for me..it was approx 15 minutes).

Note: if you like a thicker sauce...just mix a couple Tbsp of flour to equal parts water and then pour into the curry...that should thicken it right up!

*To make it more spicy - add thai chilles or crushed red pepper flakes*

Pour over rice and enjoy.

Yields 6 servings @ 1 1/2 cups each serving


WW+ Stats:

Curry = 8 pts.

Rice = 3 pts.

Total Meal = 11 pts.


Wednesday, March 30, 2011

Buttermilk Bacon Scones w/ Maple Glaze

Maple Bar + Bacon = Heaven
This concoction has become quite popular and can be found at a lot of doughnut shops these days. I wanted to make something similar...toyed around with the idea of a maple bacon bar inspired cupcake (I still may tackle this), but I decided on a bacon scone drizzled with a maple glaze. I love scones, so this was perfect! And I got to use the dough hook on my Kitchen Aid mixer (I love you husband) for the first time, too...BONUS! These turned out delicious and the recipe can be altered by just replacing the bacon with cranberries, raisins, chocolate chips, etc. You can then make any glaze with powedered sugar and liquid (i.e. fresh squeezed orange juice, extracts, syrups, etc.). Experiment...I dare you!


Buttermilk Bacon Scones w/ Maple Glaze Recipe:

Scones

1 c. Buttermilk

1 egg

2 Tbsp Sugar

3 1/2 c. Flour

2 tsp. baking powder

1 tsp. baking soda

1/2 tsp. salt

1/2 c. melted butter (unsalted, if you have it)

1/3 c. chopped/crumbled bacon (try baking your bacon...the texture turns out great)


Preheat oven to 400.

1. Beat together the buttermilk, egg and sugar.

2. Mix 3 cups flour together with the baking powder, soda, & salt.

3. Add about 2/3 of the flour mixture to the buttermilk and stir well.

4. Gradually add the melted butter, incorporating it throroughly into the mixture.

5. Stir in the remaining flour mixture and the bacon. (this is where the dough hook comes in handy, if you have one)

6. You may have to add a bit of flour to form a stiff dough.

7. Turn the dough onto a lightly floured surface and knead for several minutes.

8. Divide into 3 equal parts and shape each part into a thick circle about 4-5 inches across.

9. Cut the circles into quarters with a sharp knife and arrange on a cookie sheet that has been buttered or covered with parchment paper (my preference).

10. Bake in preheated oven for 20-25 minutes or until lightly browned (watch that you don't overcook...they'll dry out!)

Glaze

1 1/4 c. Powdered Sugar

1/2 c. Maple Syrup (the real stuff)

1 tsp. Vanilla Paste (or extract)

Combine the three ingredients and then drizzle over the scones after they've cooled for 5 min...or longer. (the warmer the scone, the thinner the glaze will be as it coats)

Tuesday, March 29, 2011

Komski Krunch


Last May, I went down to San Diego for some dental work and got to meet up with my cousin, Jayme. We explored Coronado Beach and all the little shops, including a candy shop (perfect for having my teeth just worked on). I think it is called Fuzziwigs Candy Factory...don't hold me to that though! They had the usual candy shop goodies...but they also had things like Ruffles potato chips dipped in caramel and then chocolate (OMG) and these cadies they called "Coronado Crunch." These were amazing, but all I remember is that it had peanut butter, chocolate, rice krispies, and marshmallows. Of course, a simple Google search of "Coronado Crunch recipe" pulls up nothing. For my first attempt at recreating...or coming close....I think I did a pretty good job. And no offense to the candy shop folks....I think I like my version better. You may be wondering about the name....I named it "Komski Krunch" mostly because I lack creativity and I kind of miss my maiden name.


*If you need a Pampered Chef consultant and/or would like to purchase one of these, let me know and I will provide contact information for my gal, Cynda. She's awesome!


Look at what I can do!

Whoa - My first blog post...EVER! This whole blogging thing is quite daunting. All the set-up...making sure it's pretty...and then coming up with entertaining things to say. Hopefully the pictures of scrumptious food and recipes will be distracting from my lame attempt at entertainment.